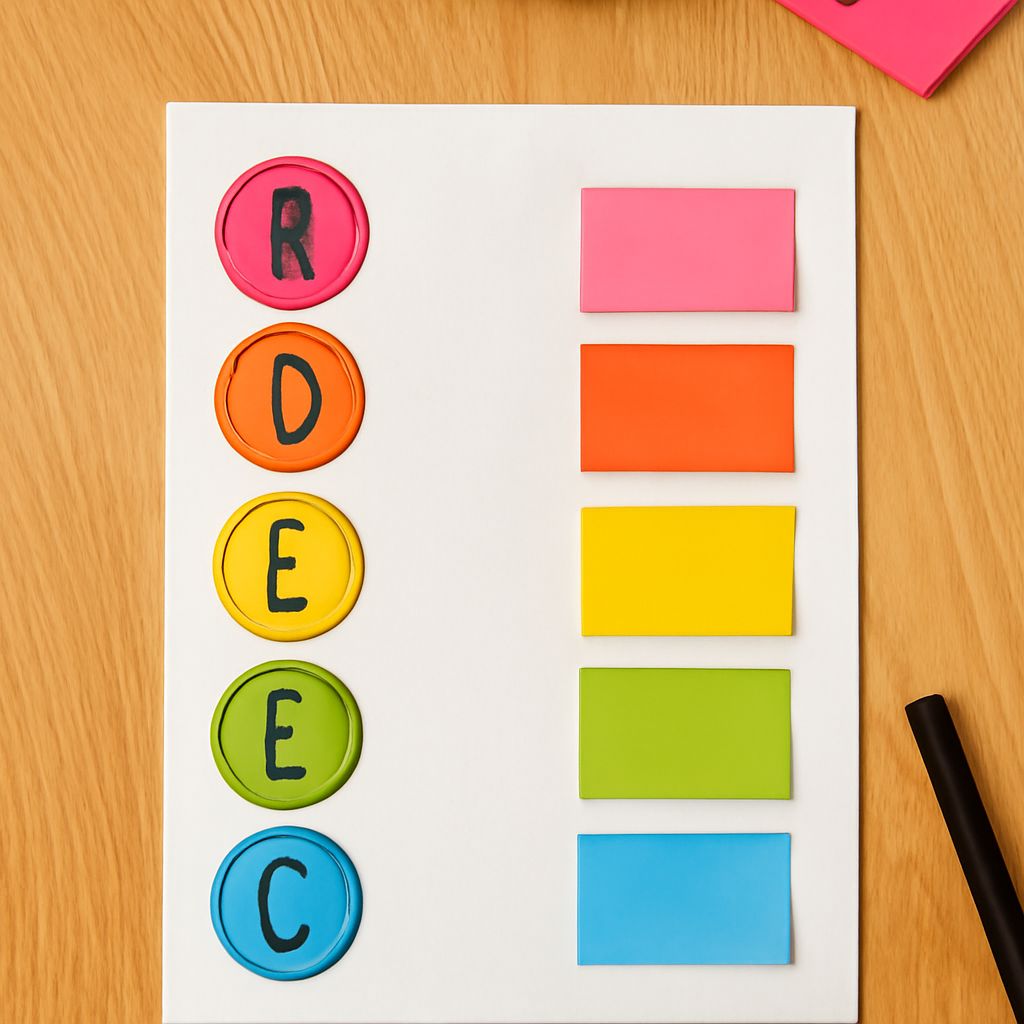
Anchor charts are powerful tools that educators use to support learning. They serve as visual aids that help students grasp complex concepts or processes. By breaking down information into digestible parts, anchor charts facilitate better understanding and retention. In this guide, we’ll explore how to make an anchor chart, starting with its definition, moving through the materials you’ll need, and offering a step-by-step creation process along with tips for effective use.
Anchor Chart Definition
An anchor chart is a visual representation of information that serves as a reference point for students. It’s typically a large poster or paper displayed in the classroom, summarizing key points from a lesson or unit. Anchor charts can cover a range of topics, from math strategies to language arts concepts, and are meant to anchor students’ understanding by providing a consistent visual reminder.
Materials Needed
Creating an anchor chart requires a few basic materials. Here’s what you’ll need:
- Chart paper: Large, sturdy paper that can be hung on the wall.
- Markers: A variety of colors to differentiate information and enhance readability.
- Stencils or stickers: Optional items to add decorative elements or highlight important sections.
- Tape or adhesive: To secure the chart to the wall.
Step-by-Step Guide
Follow these steps to create an effective anchor chart:
- Select a topic: Choose a specific concept or skill that students need to understand.
- Research and organize content: Gather relevant information and decide on the key points you want to include.
- Draft the layout: Sketch a layout on scrap paper to plan the organization of your chart.
- Write clearly: Use large, legible handwriting or print to ensure readability. Vary colors to highlight different sections.
- Incorporate visuals: Add drawings, diagrams, or symbols to support text and enhance understanding.
- Display prominently: Hang the completed chart in a visible location where students can easily refer to it.
Tips for Effective Use
To maximize the impact of your anchor charts, consider these tips:
- Interactive creation: Involve students in the creation process to increase engagement and ownership.
- Refer regularly: Make a habit of referring to anchor charts during lessons to reinforce learning.
- Update as needed: Modify or replace charts as your class progresses and as students’ needs change.
- Use in various subjects: Apply anchor charts across different subjects to support diverse learning styles.
By following these guidelines, you’ll create anchor charts that are not only informative but also a dynamic part of your teaching strategy. The right anchor chart can make a significant difference in student learning, helping anchor their understanding in meaningful ways.